Hints & Tips
How to change from a Monthly to Annual plan
To change from a monthly to annual plan, go to the ‘my account’ section of our site, and choose ‘my subscription’ from the left hand menu.
Click the ‘change plan’ button.

On the next screen, click the ‘choose option’ drop down box, and select ‘annual’.
Click ‘sign up now’, and proceed to pay.

Your monthly plan will continue until the end of the current subscription period, at which time, you will then be switched to the annual plan.
Password issues with our new site ? Please read this before raising a ticket
On Feb 26th 2017, we moved over to our new web site.
If you had an account with us prior to this date, we will need to migrate you over to the new site.
Note – Your old password will not work on the new site.
We will be migrating customers in batches. On or around the date of your next subscription you will receive an email with a link to your new account, and setup instructions. Just click the link and enter you details to complete the setup.
Your VPN will continue to work as normal while we move you over, and you will still have the same VPN password (the password you use to setup the VPN client on your device) when you have completed the setup on the new site.
Your old account has been frozen. There is no longer a payment gateway attached to the old site, so you will no longer receive charges from the old site / account. Eventually, when the migration is complete, we will remove all accounts from the old site. In the meantime, you can access your old account with the old password here if you need to.
If you want to cancel your account, simply do nothing, and ignore the emails about the upgrade, and your account will be cancelled if you do not register on the new site.
Synology DSM sample config
The clip below shows an example of working config for a Synology DSM connecting to our PPTP servers.

How to setup L2TP VPN on Chromebook
Ad Private Network -> L2TP
Server Host Name : usa1.vanishedvpn.com (or any other L2TP server from the list here)
Service Name : (one of your own choice)
Provider Type : L2TP/IPsec + pre-shared key
Pre-shared key : happiness
Username and password : copy and paste from the email you were sent when you joined
Group Name : (empty)
Tick/check “Save identity and password”
Click Connect
How to override the location detection in Chrome Browsers
Some sites have started to check your location using your browser location settings, and will not play content until you enable location. This can cause a problem if you are using a VPN to unblock content from another location.
This is how to overcome this using the Chrome browser. For the example below, we want the browser to tell the web site that we are in a USA location.
Open Chrome, and install this plugin from the Chrome store.
When its installed, click on the blue pin that should now appear on the top right on the browser, and enter a US co-ordinate, tick the on/off box, and click SAVE
We used :
Latitude 39.96
Longditude -75.16
You can check this is working by going to this site
ctrlq.org/maps/where/

Ensure that you are connected to the the VanishedVPN USA servers usa.vanishedvpn.com
Then navigate to the streaming site that you want to access, and the content should be available
How to fix Netflix error nw-2-5 on Roku / Roko Ultra
Please try below instructions in order to resolve this error.
Reinstall Netflix app:
1. Remove Netflix app
2. Reboot Roku
3. Re-install Netflix app.
Reduce your modems MTU size:
1- Launch a web browser from a computer or mobile device that is connected to your router’s network.
2- Access router’s Admin Page; Enter the router user name and password.
3- Select ADVANCED > Setup > WAN Setup.
4- In the MTU Size field, enter 1250.
5- Click the Apply button.
Register for an American Roku account:
- First, setup your VPN on your PC/Mac. This is a crucial step. Without it, Roku will flag your account as non-US.
- Now, head over to https://my.roku.com/index and choose ‘Create account’.
- Then, fill in the required information and then click ‘Continue’.
- Next, choose a Pin and click ‘Continue’.
- On the next page, you have to payment options: Paypal or Credit Card.
- If you already own a Paypal account use the Paypal payment option. Your Paypal country does not affect your Roku account.
- Use a valid US address to create your American Roku account. You can use California as your state and 90210 as your zip code.
- If you choose Credit card as your payment option, you have to use your own street address that is associated with your credit card.
- Then, you need to convert the postal code into a valid zip code.
- Keep note of the City associated with the new zip as it is required for the Roku account setup.
- To create a valid zip code, take the digits from your postcode. The postal code M1Z4L3 becomes 143. Add zeros to the end if you have less than 5 digits in your postal code. So the 143 becomes ZIP 14300.
- Now that you have finalized your Roku account, reset your Roku streaming device to factory settings. Then, use the newly created American Roku account on your Roku device.
ADD AMERICAN CHANNELS TO ROKU ULTRA OUTSIDE USA
Now that you have registered your US Roku account and used it to sign into your Roku Ultra, it’s time to add US channels like HBO Now, Hulu, Sling TV, and Amazon Prime.
- Press the ‘Home’ button on your remote to open the main screen.
- Scroll down and select ‘Streaming Channels’ to access the Channel Store.
- Search for the channel you wish to add.
- Once you find the channel, press ‘OK’ on your remote control.
- Finally, select ‘Add Channel’ to install the channel on your Roku device.
Check out solutions mentioned here:https://help.netflix.com/en/node/14424
How to reset your password for ‘my account’
Following the upgrade of our payment gateway, it will be necessary to reset the password you use to access your account details via ‘my account’
Here’s how you do it.
1) Go to the ‘my account‘ section of our website and click on the ‘forgot your password ?’ link at the bottom of the screen
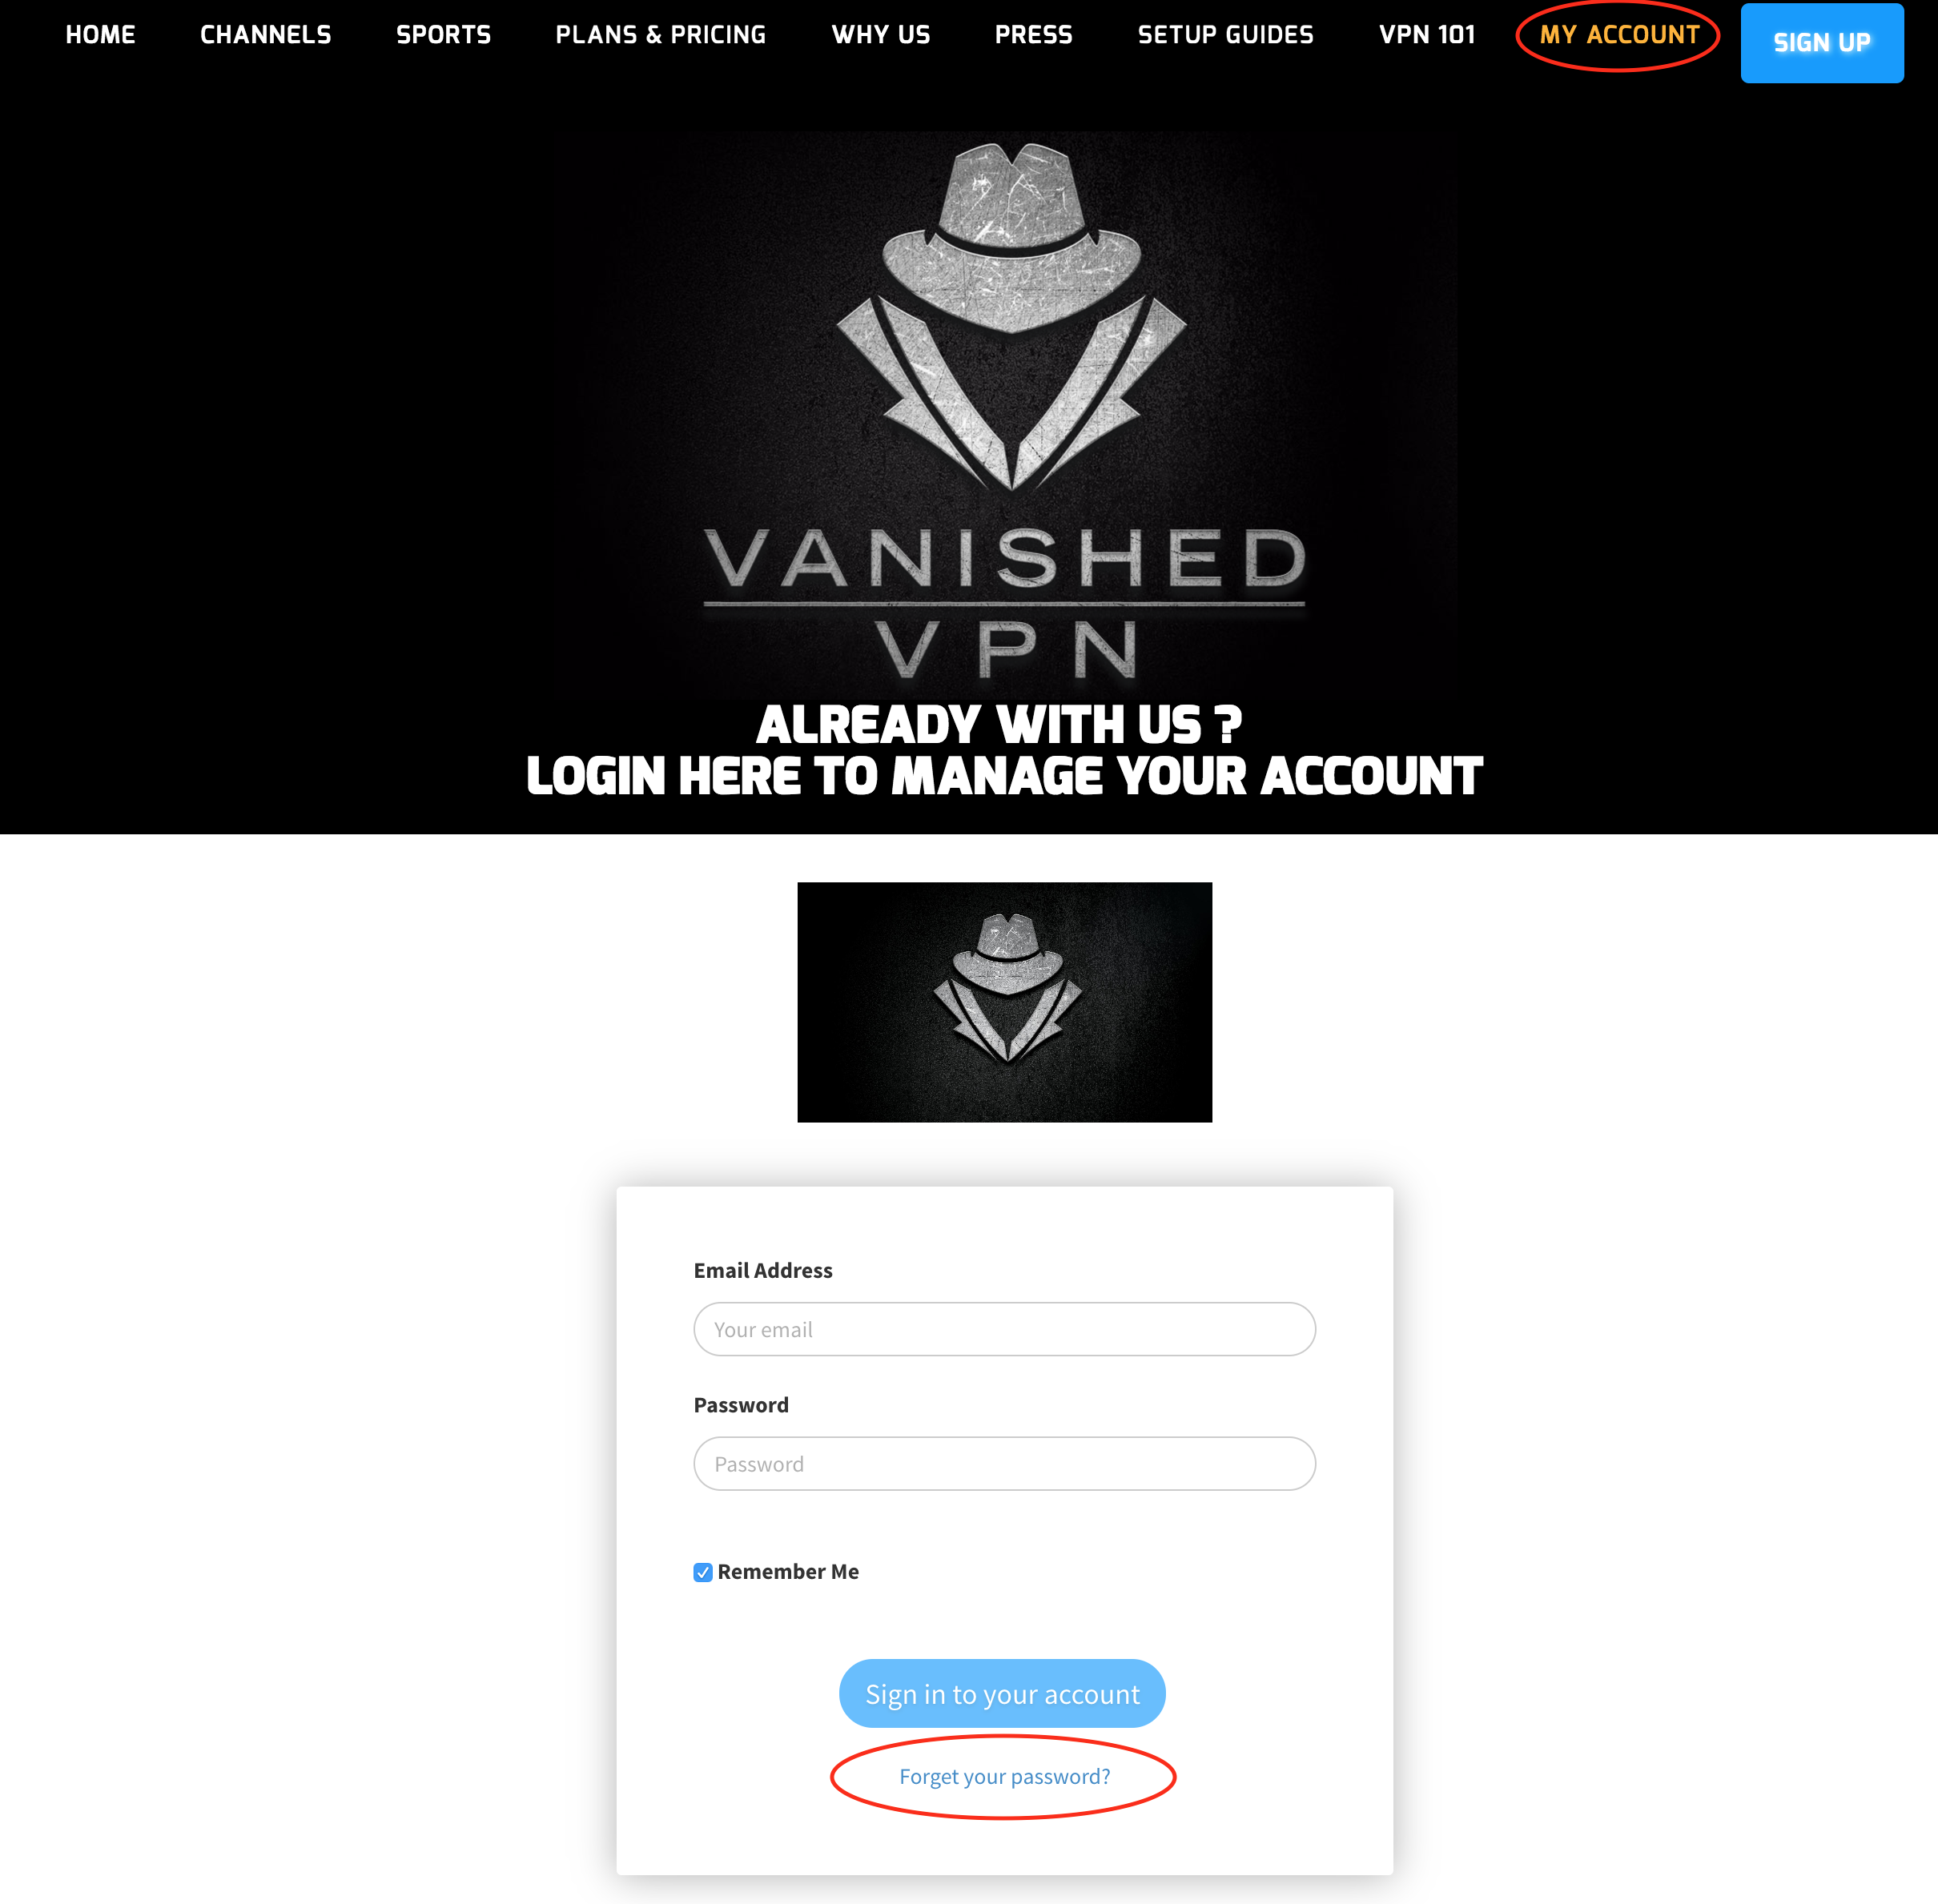
2) Enter the email address that you originally registered with (this will be the same as your username for the VPN client), and click ‘send reset request’

3) Check your email, and find the email sent from ‘Paywhirl’ with the subject ‘Password reminder’. If you haven’t received this, check your spam folder.
4) Click on the link in the email to change your password.
5) On the page that you are directed to, enter your new password twice, and click ‘reset password’
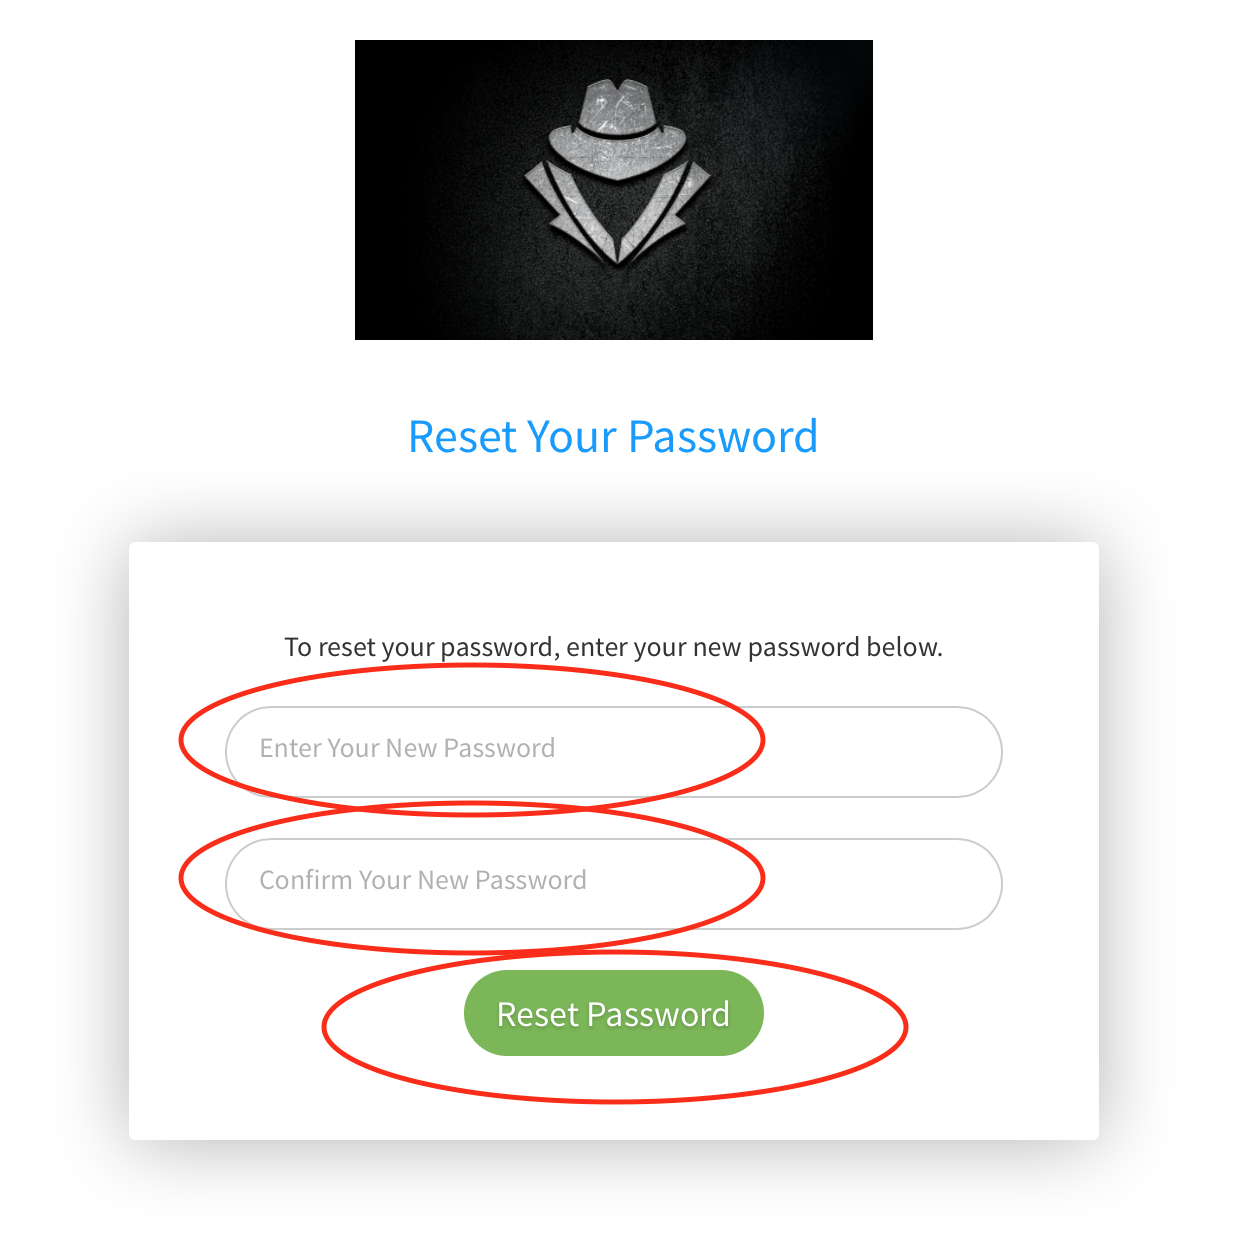
Congratulations, your password has been reset, and you can sign in to view your account via the portal you are re-directed to , or via the ‘my account‘ section on our site.
MS Surface
To create a PPTP connection on your Surface 2, please follow the steps below:
Step 1: Swipe in from the right edge of the screen, and then tap “Settings”. (If you’re using a mouse, point to the lower-right corner of the screen, move the mouse pointer up, and then click “Settings”.)
Step 2: Tap or click “Change PC settings”, then tap or click “Network”, and then tap or click “Connections”.
Step 3: Under VPN, tap or click Add a VPN connection.
Step 4: Enter the information needed in the appropriate fields:
– VPN Provider: Choose “Microsoft” as your VPN Provider in the drop-down menu (this selects the PPTP protocol to be used)
– Connection name: Enter the name of the VPN connection you are setting up, e.g. the name of the server you are connecting to (London LOC1S1)
– Server name or address: Enter any of the PPTP server name that you were sent when you registered (for example uk.vanishedvpn.com)
– Type of sign-in info: Choose “Username and Password”
– Username: Enter your vanishedvpn account username.- Password: Enter your vanishedvpn password
Step 5: Swipe in from the right edge of the screen, and then tap “Settings”.
(If you’re using a mouse, point to the lower-right corner of the screen, move the mouse pointer up, and then click “Settings”.)
Step 6: Tap or click the wireless network icon [Wireless network icon] (or the wired network icon if you are using a wired connection).
Step 7: Tap or click your VPN connection, and then choose “Connect”. (You will disconnect the same way, by clicking on “Disconnect”)
Once connected, try and stream content from where you are connected to (i.e. US Netflix if you are on the US servers).
Troubleshooting: If you, for any reason, experience the error 734: “PPP Link control protocol was terminated”, try un-checking the option to remember your login credentials (Step 4). Namely , this is a non-fatal error that occurs due to remembered login credentials, and is fairly easy to fix.
How to sign up for Sling TV
Sling.tv is an awesome cable cutting service which allows access to a load of US Cable channels online
Access is normally blocked outside of the US, but by connecting to our USA VPN, you can bypass the block and access the content.
- Just sign up for a Vanished VPN subscription
- Connect to our USA VPN
- Then click through this referral link (which will give you $5 off each of the first 3 months subscriptions).
There is a free 7 day trial, and they also now have the option of cloud recording which you can bolt on.
IF YOUR CREDIT CARD IS NOT ACCEPTED…
We’re aware that Sling may reject Non-US credit cards. Don’t worry, you can purchase Sling.tv gift cards online (here’s an example on ebay)and redeem them on the Sling.tv site.
PS3 / PS4 setup
By far the easiest and simplest way to connect your Playstation to the VPN is to purchase one of our Invizbox mini routers . Simply plug this device into your existing modem / router, and it will create a new wireless network which runs over the VPN (USA by default, but can be changed.) Simply connect your Playstation to the new wireless network, and get unblocked content (like USA Netflix) on the big screen.

How to connect your Playstation to the wifi on the InvizboxPlug the network cable into the WAN port on the Inviz box, and the LAN port on your existing modem / router. Wait for a minute1. On your XMB menu on PS3 or PS4, go to ‘Settings’ and then select ‘Network Settings’.2. Under the ‘Network Settings’ tab, select ‘Set Up Internet Connection’.>3. Now select ‘Use WiFi’ when prompted.4. Now, select connection method as ‘Easy’. This way, the PS3 or PS4 will automatically scan your Wireless connection.5. You should see the VanishedVPN wireless network. Click on that and enter your password (supplied in the Invizbox instruction)6. Click on ‘Do Not Use a Proxy Server’ when prompted.7. Now, accept all settings after a careful inspection and continue for a ‘Test Connection’. You’re done!
If you don’t want to purchase a mini router, here’s some other options:Setup VPN on PS3 and PS4 through Windows** See link here if you want to do this wirelessly
1. First make sure you have your Windows VPN client configured to use the VanishedVPN servers and working on your Windows device.2. Connect your PS3 or PS4 to your computer using a crossover cable.3. Click the ‘Windows Menu Button’ at the bottom left hand of the screen.4. From the menu list, click Control Panel.5. Once Control Panel window opens, click ‘Network and Sharing Center’.6. Click ‘Change Adaptor Settings’ on the left hand side of the screen.7. Right click on the icon titled ‘VanishedVPN’ and then select the option titled ‘Properties’.8. Once the properties window is displayed, open the tab titled ‘Sharing’.9. Now, place a check mark on the option titled ‘Allow other network users to connect through this computer’s internet connection’.10. Click on the option titled ‘Home Networking Connection’. It will reveal a drop down menu with your available internet connections, and possibly a connection titled ‘Xbox’. Select Xbox (if it is available) and if it is not available, then click on the connection you want to share with your console. 11. Click “OK”12. Now, connect your computer to VanishedVPN’s desired server.13. On your XMB menu on PS3 or PS4, go to ‘Settings’ and then select ‘Network Settings’.14. Under the ‘Network Settings’ tab, select ‘Set Up Internet Connection’.15. Now select ‘Use a LAN Cable’ when prompted.16. Now, select connection method as ‘Easy’. This way, the PS3 or PS4 will automatically scan your Ethernet connection.17. Click on ‘Do Not Use a Proxy Server’ when prompted.18. Now, accept all settings after a careful inspection and continue for a ‘Test Connection’. You’re done! Setup VPN on PS3 and PS4 Through MAC
If you are using a Mac desktop or laptop and want to share VPN with your PS3 or PS4.
It is possible to create a wireless share with Mac. See these instructions here, or read on for the cable method.
1. First make sure you have your Mac VPN client configured to use VanishedVPN servers and working on your Mac device.2. Connect your PS3 or PS4 to your computer using a crossover cable.3. Go to System Preferences at the bottom of the home screen and select the option titled ‘Sharing’.4. On the Sharing page, select the option titled ‘Internet Sharing’.5. From the drop down menu titled ‘Share Your Connection From’, select ‘Ethernet’ or ‘AirPort’ or ‘Wireless’ (depending on where you are getting your internet from) to share from the drop down list.6. From the drop down menu titled ‘To Computers Using’, select ‘Ethernet’ to share from the drop down list.7. Place a check mark on the box titled ‘Internet Sharing’ to enable sharing of internet.8. When the sharing is active, the ‘Internet Sharing’ icon will become green and the status will change to ‘On’.9. Now, connect your computer’s VPN client to VanishedVPN’s desired server10. On your XMB menu on PS3 or PS4, go to ‘Settings’ and then select ‘Network Settings’.11. Under the ‘Network Settings’ tab, select ‘Set Up Internet Connection’.12. Now select ‘Use a LAN Cable’ when prompted.13. Now, select connection method as ‘Easy’. This way, the PS3 or PS4 will automatically scan your Ethernet connection.14. Click on ‘Do Not Use a Proxy Server’ when prompted.15. Now, accept all settings after a careful inspection and continue for a ‘Test Connection’. You’re done!Get VanishedVPN now and double your joy of gaming with our PS3 and PS4 VPN service.