Support
How to play Lost Ark if you are outside Korea
Lost Ark was released on Nov 7th, 2018, which is good news, but access is currently restricted to gamers in Korea. Vanished VPN subscribers who do not live in Korea can bypass the restrictions by connecting to our Korea VPN, and following the steps below.

Step by Step Guide To Download & Play Lost Ark When You Are Living outside of Korea
Step 1: Get one verified Phone Lost Ark account. We recommend OBTGAME for this (unless you have a friend in South Korea who can help you with this.)
Step 2:Get connected to the Vanished VPN South Korea VPN. You can download the OpenVPN config files via the ‘my account‘ section of our site. If you are using L2TP, simply connect to Korea.vanishedvpn.com
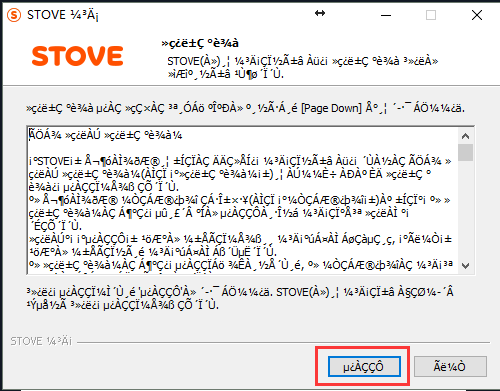
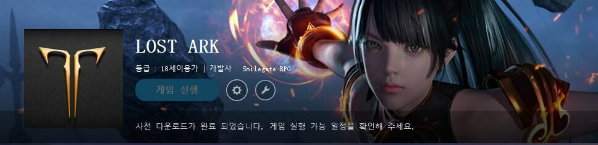
Step 3: Download Stove launcher. Follow the step by step to type the blue button to complete install. After installed successfully, one Stove launcher icon will be showed on desktop.
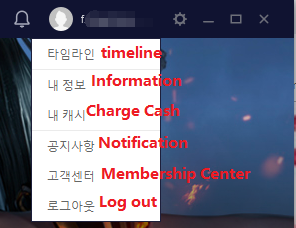
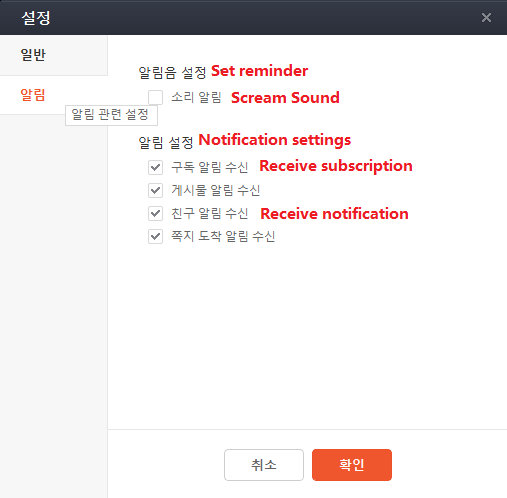
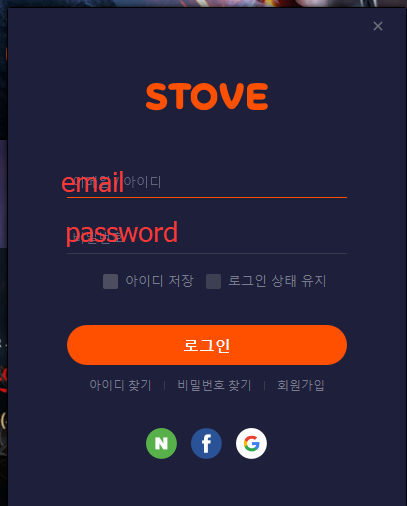
Step 4: Run Stove launch, login your Lost Ark account. Before starting to download client, here’s some more details of Stove launcher translated to English.
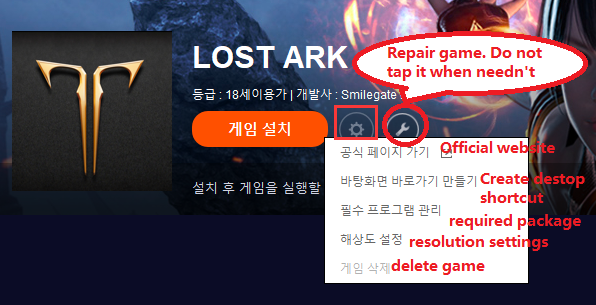
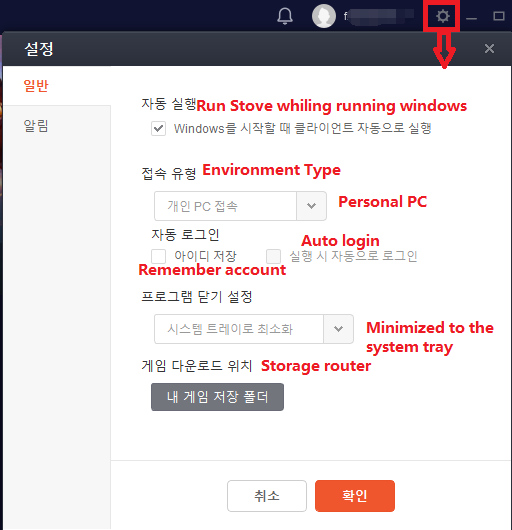
If you haven’t used Stove launcher, it will ask you to update.
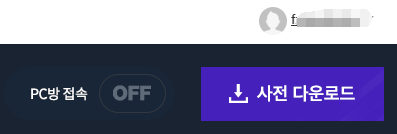
Step 5: Tap Lost Ark game, then tap the Orange button to start downloading Lost Ark client.
Step 6: After downloading and updating client successfully, you can then create a character and start to play Lost Ark from anywhere outside Korea.
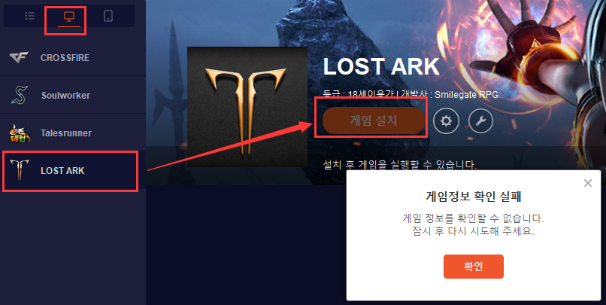
Login -> Tap the computer icon -> Tap Lost Ark -> Tap the Orange button
If you get an error as in the photo below, it means the VPN has disconnected. Please re-connect (as per step 2)
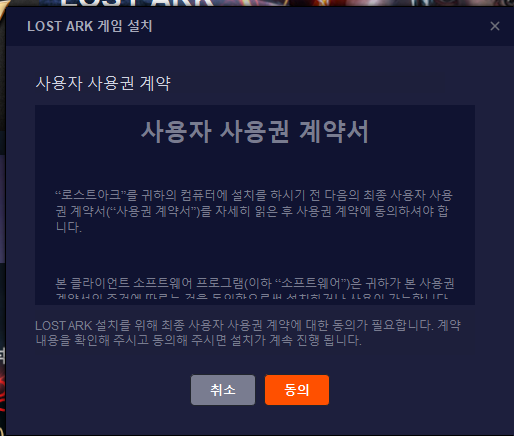
If everything are working well, then your client will start downloading.
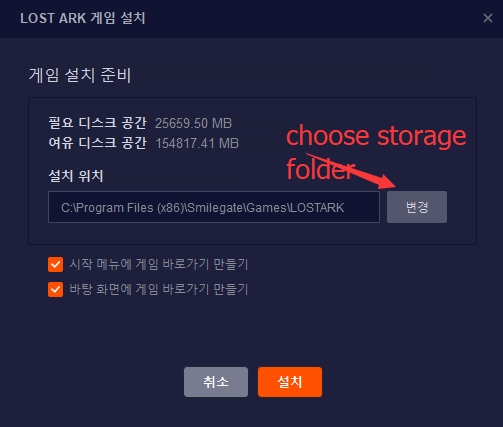
Choose the storage folder/disk.
Be patient, it may take several minutes for the bar to appear
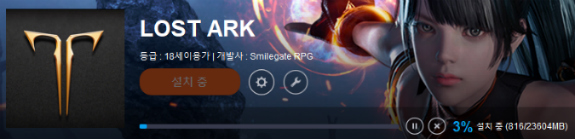
Download Lost Ark client successfully. Tap the blue button to launch game.
You’ll be asked to set a 2nd password first. The 2nd password will consist of 6 to 8 digits. Make sure you remember it. If you’re locked out, you won’t be able to unlock.

FAQs
- Is Lost Ark free to play?
Yes. It is free to play with cash shop.
- What kind of VPN is best for Lost Ark? / Should we keep VPN online while downloading and playing?
Vanished VPN is a great solution, as we don’t cap data or throttle, and we’re one of the best value VPNs in the world. We also have a rock solid solution for USA Netflix, Hulu, BBC iPlayer and many more.
Only download and launch requires the use of the South Korea VPN. While playing its better to disconnect the VPN
- What is the size of the game client?
It is around 25GB. Players should leave more than 50GB space for this game. You may need to update the client from time to time.
- When will Lost Ark be released in NA/EU?
It seems Smilegate hasn’t release any nws on it. Maybe players who are living outside of South Korea have to wait one or two years.
- Where can I buy verified Phone Lost Ark account?
We recommend this website OBTGAME. Whatever product you want to buy, please read the product description carefully.
How to setup the Vanished VPN App on Amazon Fire TV
Running our app on the Amazon Fire TV is a simple way to unblock the services you love including USA Netflix & BBC iPlayer.
Its simple to install. If you get stuck, follow this guide.
Firstly, search for ‘Vanished VPN’ from the Fire TV search menu.
Once you find the app, install and launch it.
Flick through the initial splash screens, until you come to the main screen with the Vanished VPN icon in the middle.
From here, click on the countries, and choose which one you wish to connect to (ie USA to unblock USA Netflix, or UK for BBC iPlayer).
Next, click on the VanishedVPN icon in the middle of the screen to connect. You will need to enter your VPN credentials. You can find these here. Note, these are case sensitive, so enter them exactly as you see them.
Once connected, the Icon will turn green. You can now go to the home screen, and choose which service you want to use (ie , fire up Netflix as usual, and you will get the USA Netflix catalogue if you have chosen to connect to the USA VPN.
Telstra Smart Modem V2
This modem works over cable, and backup over the 4G mobile network. It appears that Invizbox doesn’t work when the modem is connected to the 4G mobile network.
Workaround – Connect the modem to the cable broadband
How to Reset the InvizBox?
You will need a paper clip, a pin or some other small object to press the reset button. Take note that any configuration you have changed on the InvizBox will be erased. Perform the steps below to factory reset your InvizBox:
- Unplug all the cables from the InvizBox.
- Power on the InvizBox by plugging in the USB power cable.
- Wait 2 minutes for the InvizBox to boot up.
- The reset button is located on the back of the InvizBox beside the USB power connection. Using a paper clip push the reset button and hold it pressed for 10 seconds, any less than that and the InvizBox will only reboot.
- The InvizBox will shut down (the blue LED on the front will go off) and boot back up. Wait another 2 minutes and you are finished! You can plug in the WAN and the LAN cables and connect to the InvizBox’s WiFi hotspot.
How to switch Invizbox 1 to wifi extender mode
1. Make sure the Invizbox is powered on, and you can see the wifi network VanishedVPN
2. Connect your device to the VanishedVPN (the password is on the bottom of the box)
3. Goto http://10.101.0.1 in your browser (same password on bottom of box)
4. You should arrive on the status screen. Click the ‘choose mode’ box and choose ‘wifi extender’ from the next screen.
5. Click ‘save’ and wait for confirmation.
See this screen recording for details https://cl.ly/c36381574965
How to connect your Invizbox to chromecast
By connecting both your device, and Chromecast to your Invizbox, you will be able to easily cast whatever you are watching (such as US Netflix) from your device to your TV.
All you need to do is to disconnect your Chromecast from your existing wifi network, and re-connect to the Invizbox wifi.
This short vide shows you how.
How to enter your VPN credentials on your Invizbox
If you chose to have your Invizbox shipped before you signed up for a subscription, you may need to enter your VPN credentials. This document shows you how to do that.
Connect to the Invizbox via wifi or cable, and login to the administration interface (http://10.101.0.1)
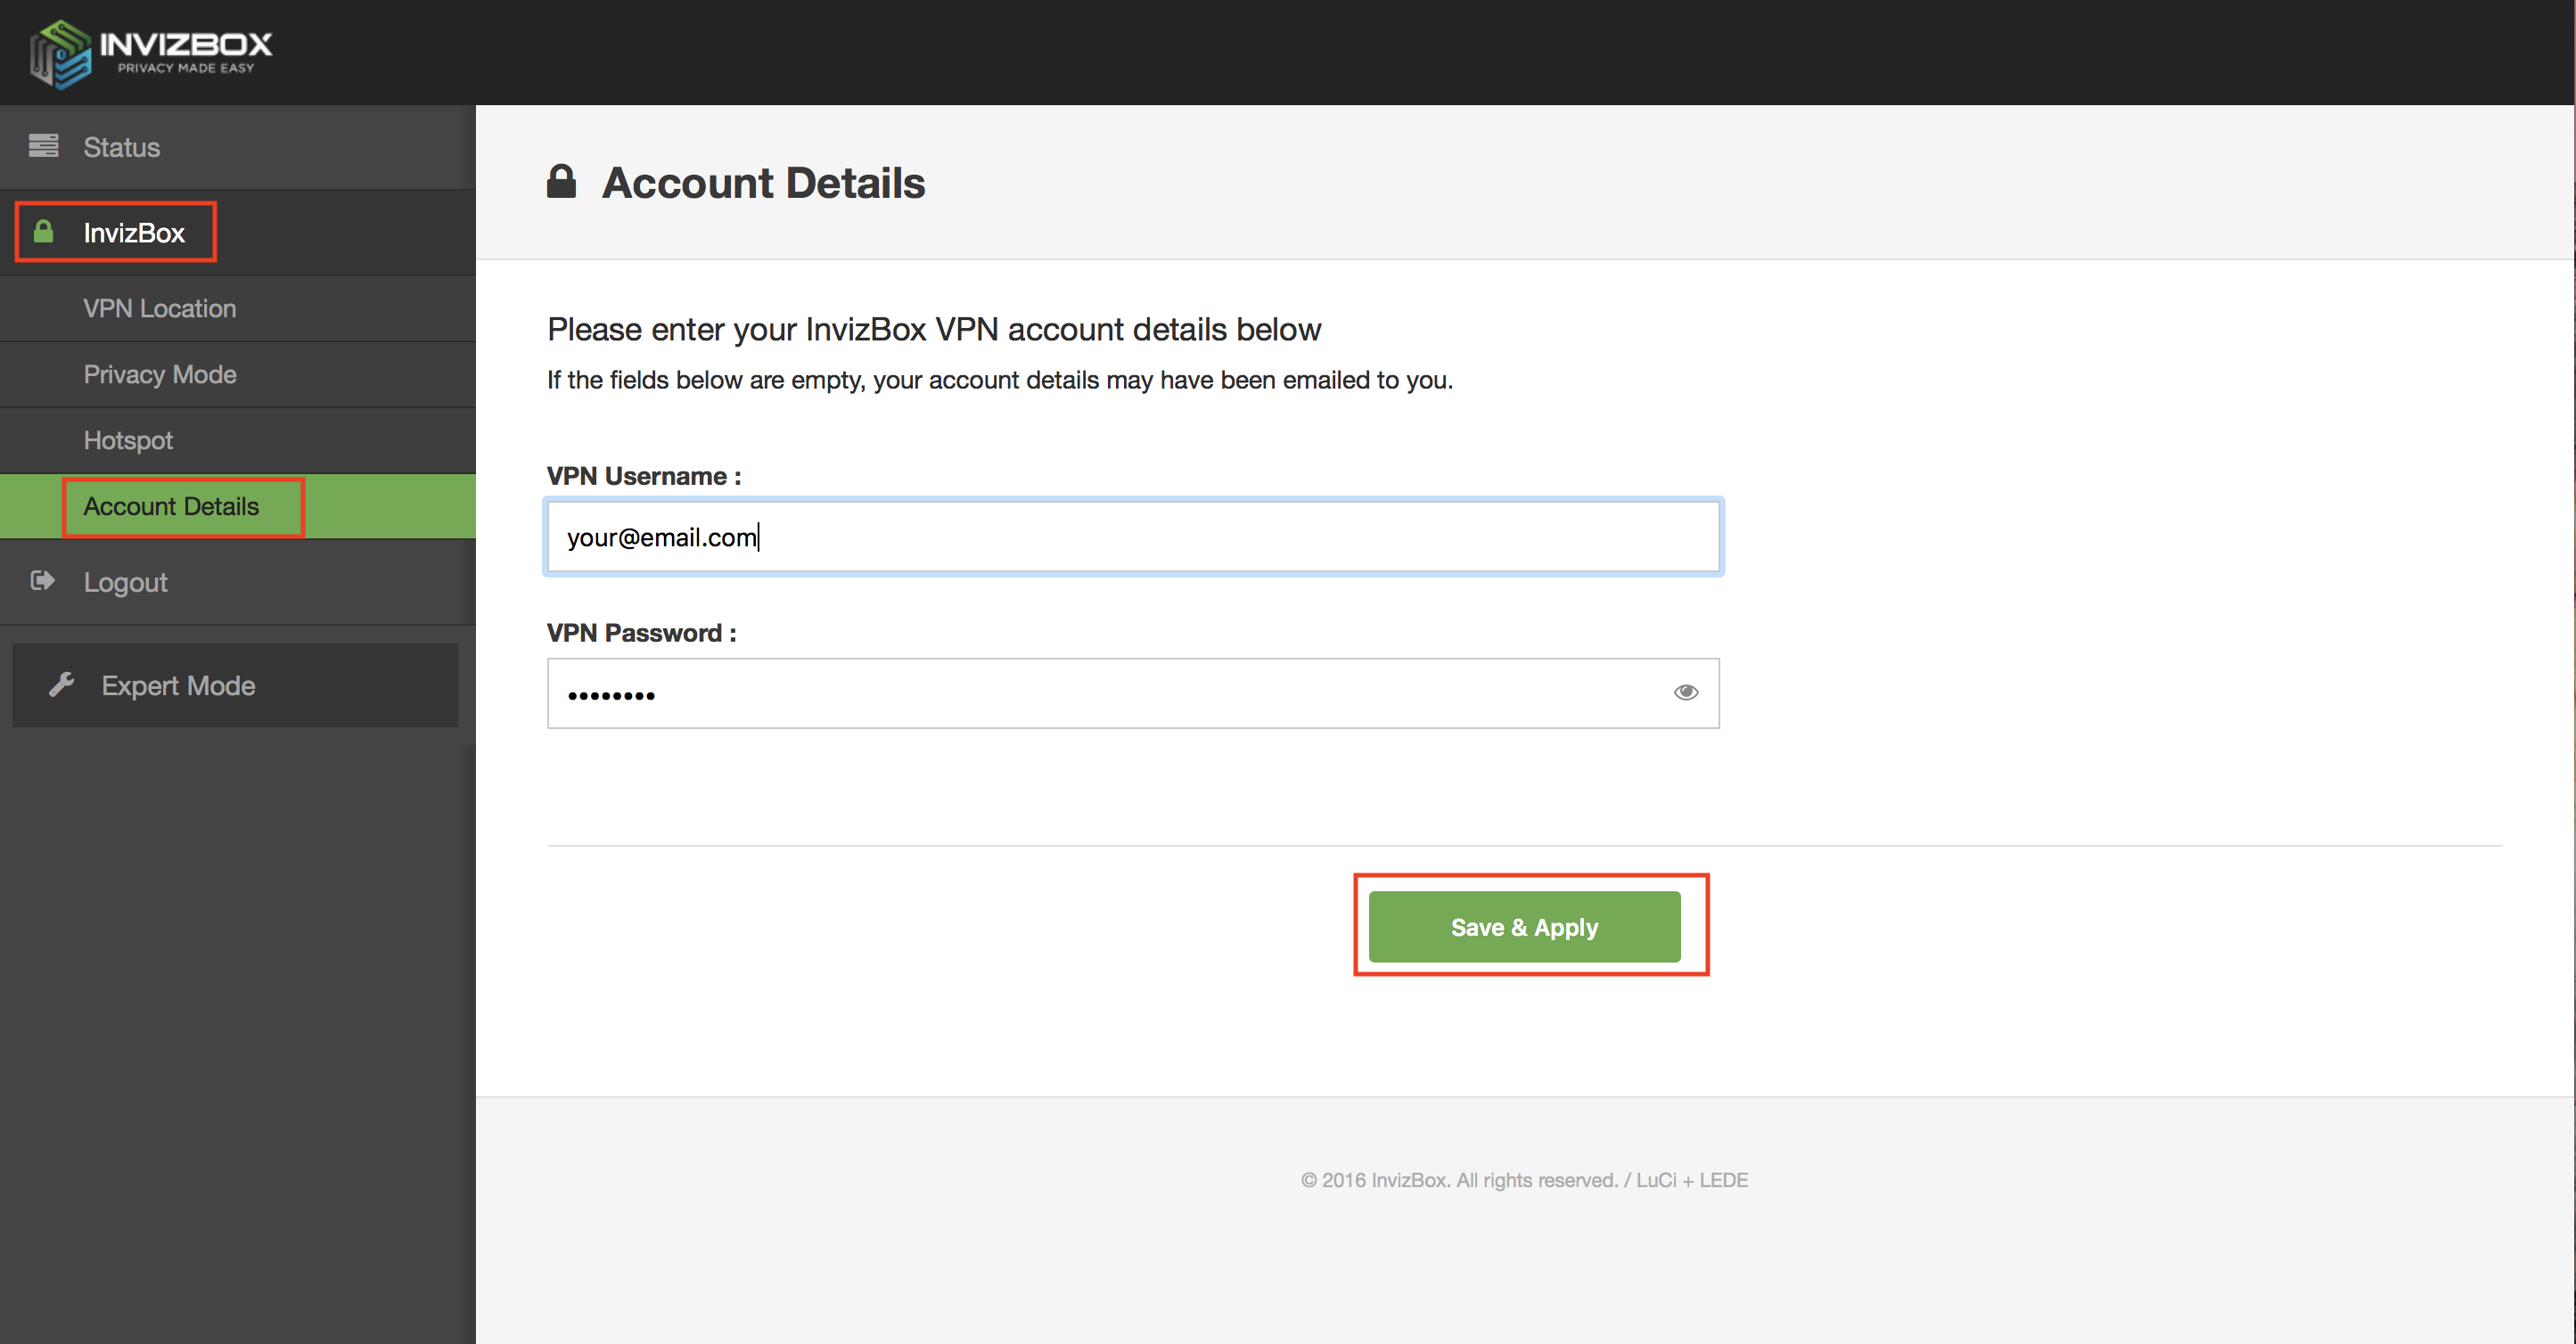
Select Invizbox / Account details from the left hand menu.
Copy and paste your VPN username and password into the relevant boxes
Click Save & Apply
Click Status on the left hand menu, and after a few seconds, you should see the VPN status go green, and you’re connected. If necessary, you can change the country that you’re connected to using these instructions.
How to change which VPN your Invizbox is connected to
This article will show you how to switch VPNs on your Invizbox. For this example, we will switch from USA to UK.
- Login to the administration interface (http://10.101.0.1)
- You should see the status screen showing which VPN the Invizbox is currently connected to
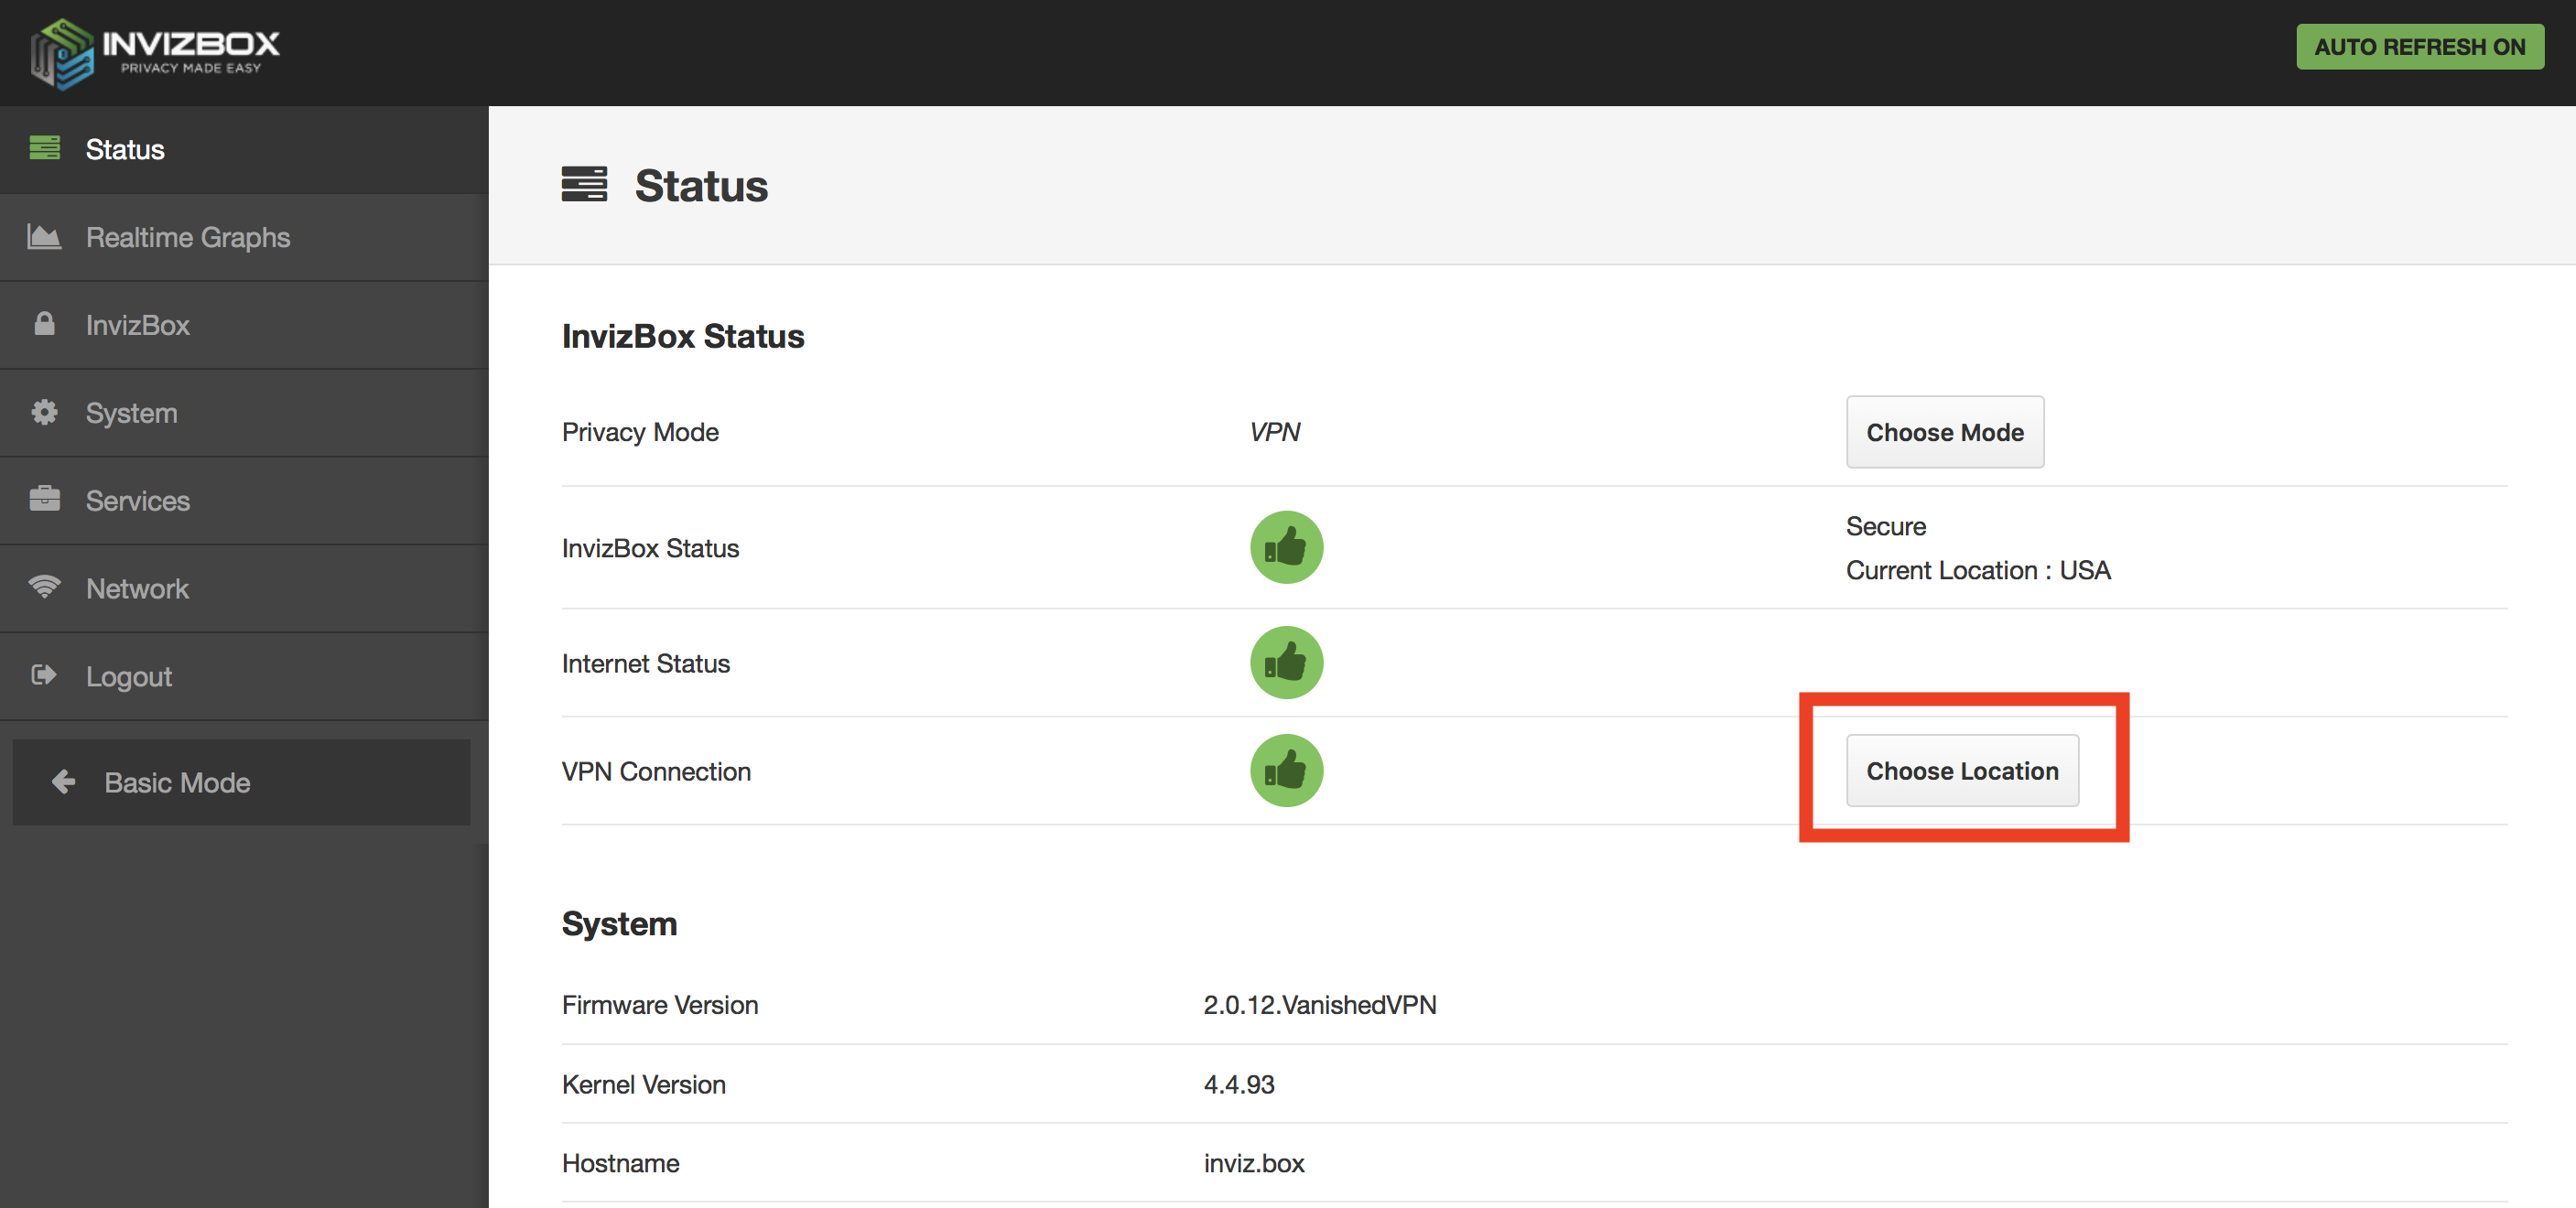
- Click ‘choose location’
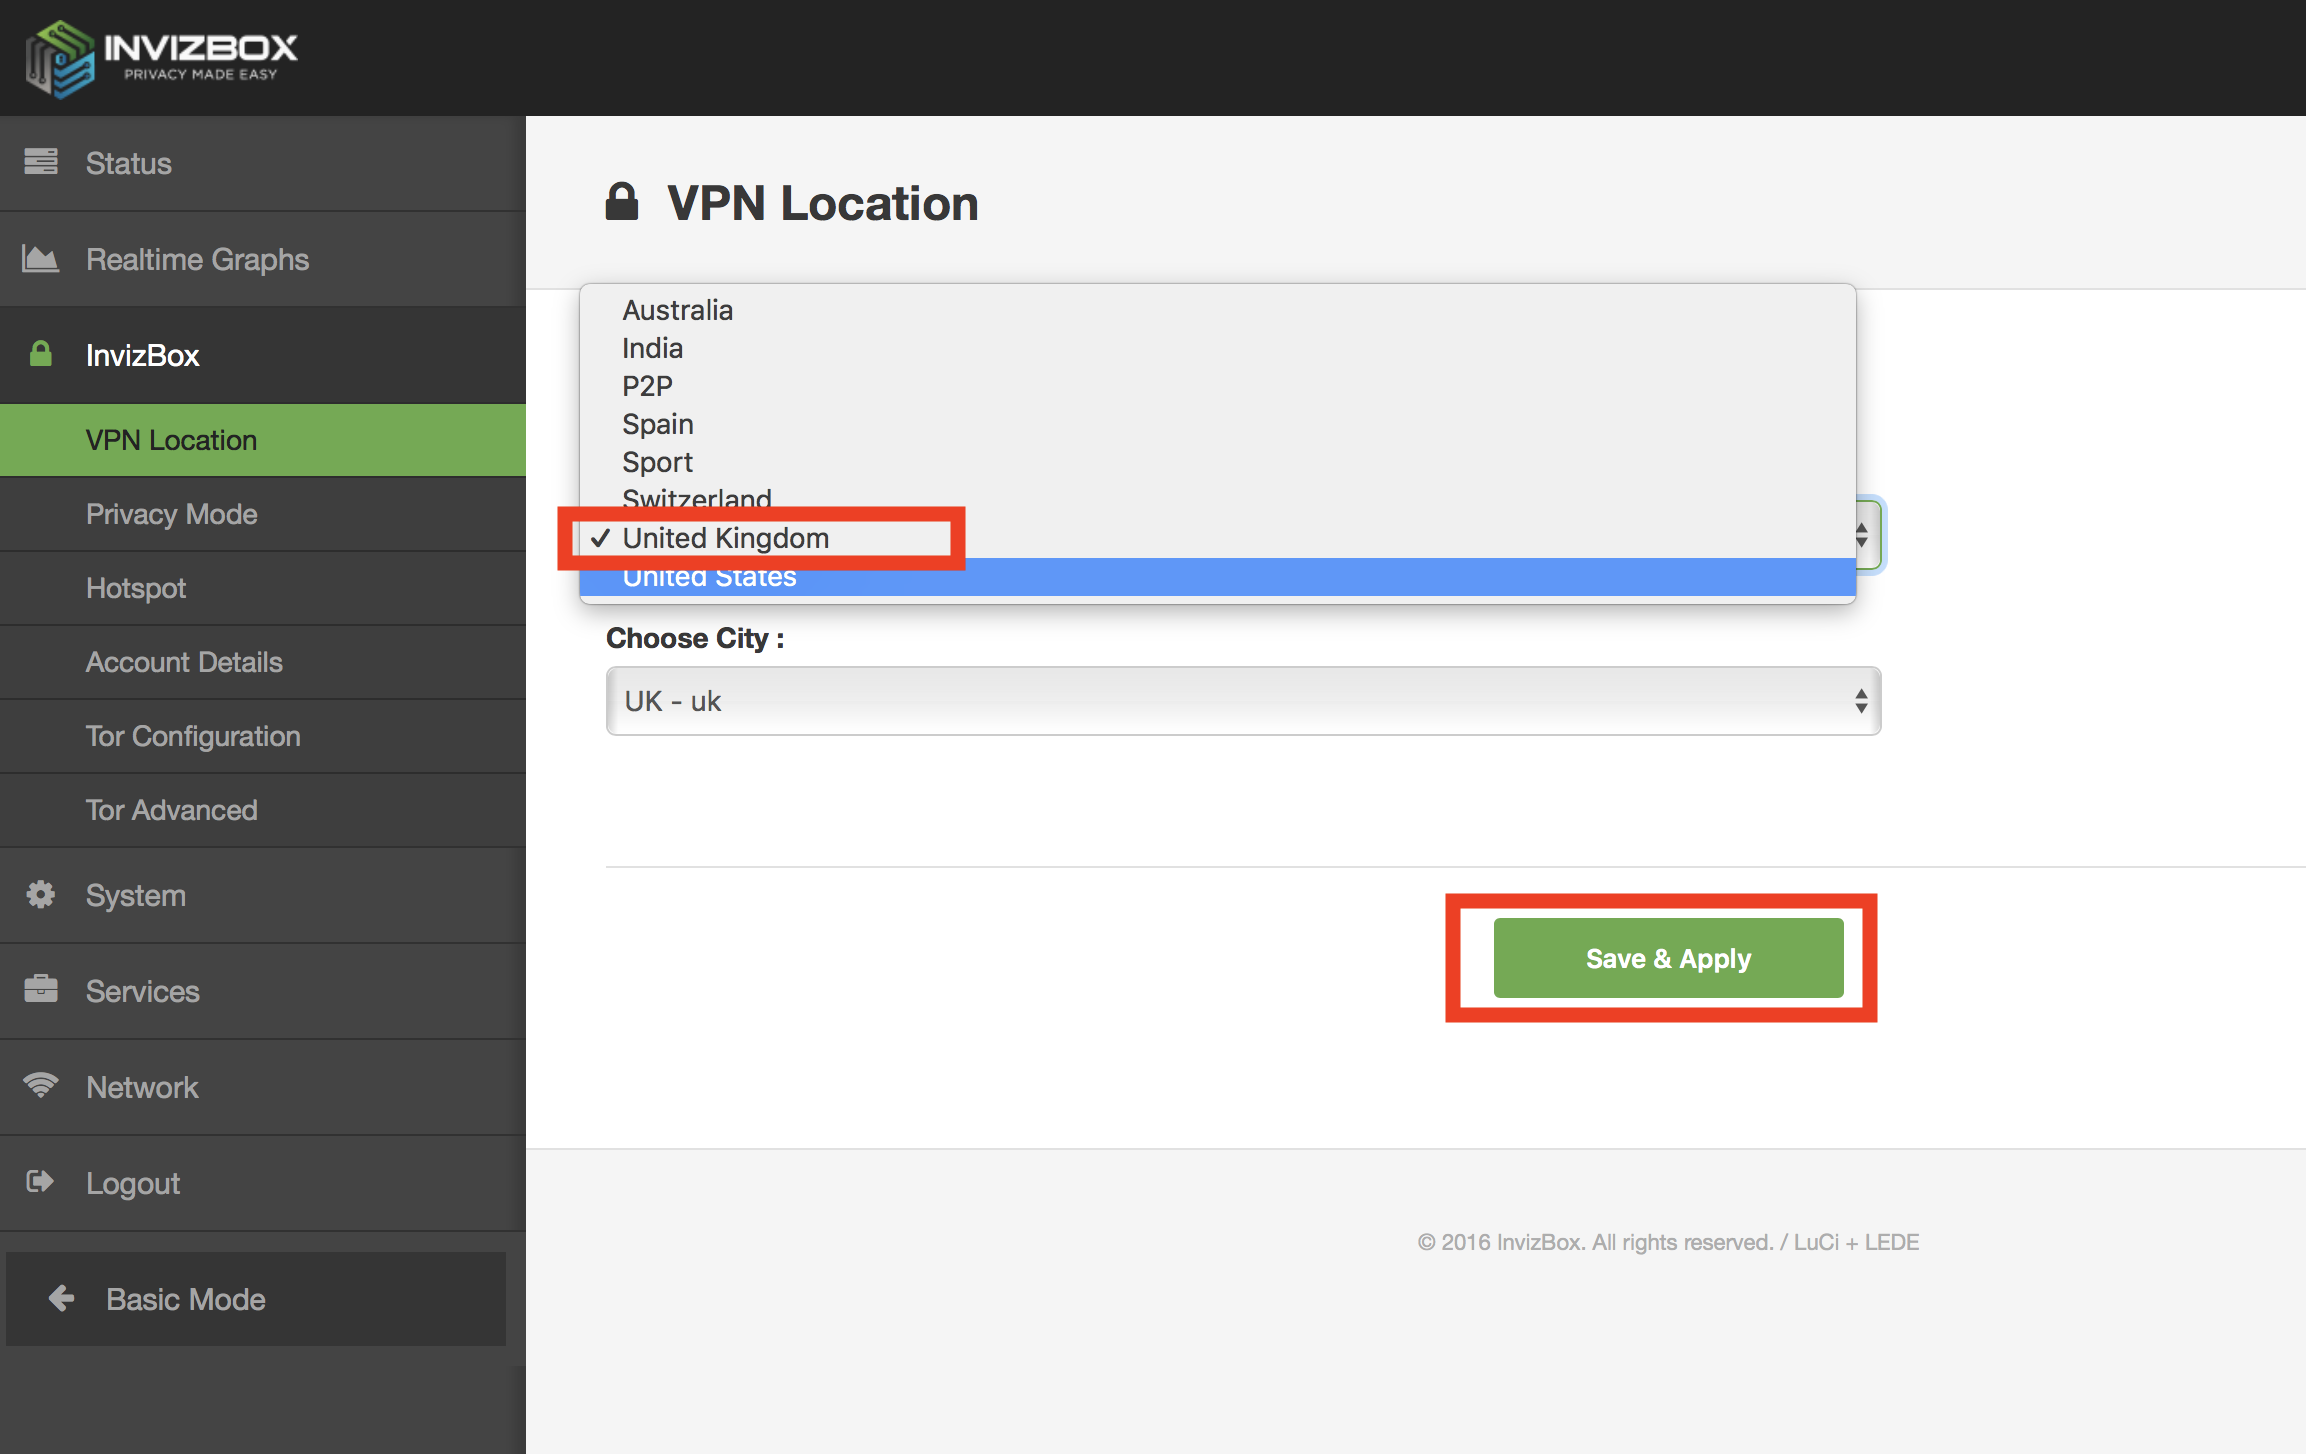
- On the next screen, click the dropdown menu under ‘choose country’ and click the new location you want the VPN to connect to (UK in our example).
- Click ‘save & apply
- You should see a couple of messages, and then finally a message saying ‘successfully applied changes’
- Click the status button at the top of the left hand menu to go back to the status screen
- After a couple of seconds the Invizbox status should go green, and your new location should be showing.
- You are now connected to the new VPN.

Amazon Fire TV & Invizbox – Ensuring that default gateway & DNS are correct
To ensure that location is not detected, you may need to force your Amazon Fire TV to send all traffic through the Invizbox VPN default gateway. Follow these instructions to do this.
First you will need to know the IP address of your router. For Invizbox by default this should be
10.101.0.1 To check the IP of your router if you are not sure, follow the Instructions in blue below
To find the router IP on Windows.
- Open up the program command prompt.
- Type “ipconfig” without the quotes and press enter.
- The IP address from default gateway is most likely the IP address of your router.
To find the router IP on OS X.
- Open System Preferences
- Go to Network
- Click Advanced
- Go to TCP/IP – here you will see the routers IP
Changing the DNS on the Amazon Fire TV (Wireless)
- Go to settings
- Select Systems
- Select WI-FI
- Select your WI-FI network and forget WI-FI network by Pressing the button with 3 lines on it.
- Press the select button.
- Select your WI-FI network.
- Enter your WI-FI password and Click on advanced
- Enter the first three groups of numbers exactly the same as the IP address of your router. As an example, if your router IP is 10.101.0.1 , then use the IP address 10.101.0.25 or something to that nature. The important part is to change the last digit (maximum 255) so you get an IP from the same IP range as the router.
- For the Default gateway enter the IP of your router (for Invizbox default, this should be 10.101.0.1)
- Input 24 for the Network Prefix Length and Click Next
- Enter the DNS addresses shown in the table belowPrimary:8.8.8.8Secondary:8.8.4.4
Change the DNS on the Amazon Fire TV (Wired connection directly into Invizbox or other router)
- Go to Settings
- Select System
- Select Network (wired)
- Select Configure Network
- Enter a valid IP from your home network. Find the IP of your router in the guides above.
- Set prefix length to 24. Press Next.
- Set gateway to 255.255.255.0 (You can find the correct gateway by following the guides above). Press Next.
- Set the gateway IP to the IP of your router. Press Next.
- Enter the DNS addresses shown in the table belowPrimary:8.8.8.8Secondary:8.8.4.4
Other Things You Will Need
- Make sure you have a 1-click US address in your Amazon Account.
- Also on Amazon.com go to Your Account > Manage Your Content and Devices > Country Settings and set country to United States
- On the Fire TV Go to “Settings” and select “Time Zone” (15). Select an US Time Zone.